- Resources & More
- Technology Tutorials
- License Management Tutorial
- License Management Tutorial for Teachers
License Management Tutorial for Teachers
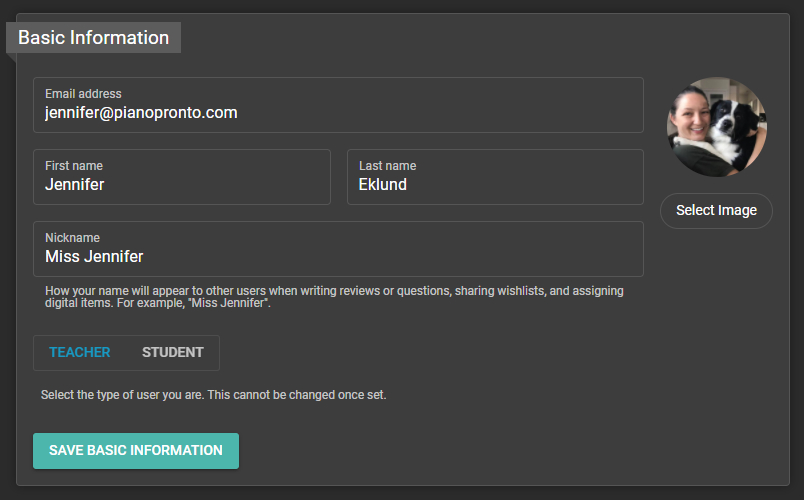
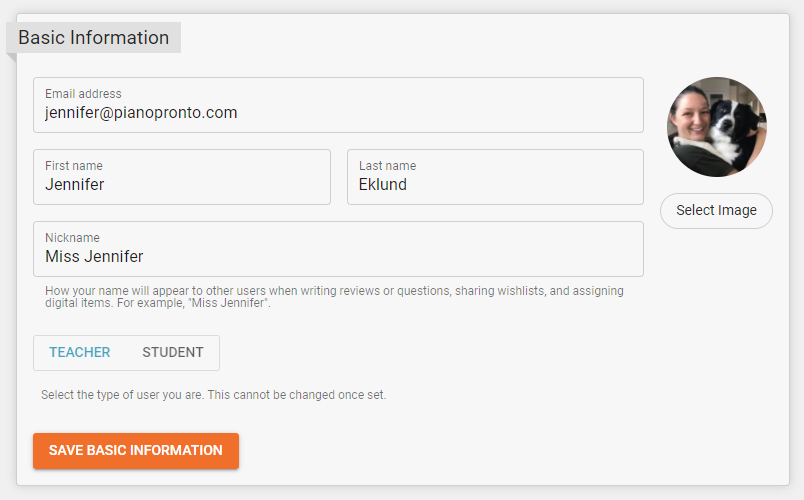
STEP 1: Update your account profile
- Log into your Piano Pronto account and navigate to the Account Settings page.
- Select “teacher” as your user type. You can also set a nickname and image that will appear to your students.
- Press the “Save basic information” button.
STEP 2: Add a student (or all of your students!)
Now that your account is set up as a teacher, you will see a Your Students menu item in your Account Dashboard. If you do not see this menu option, double check that you have completed Step 1.
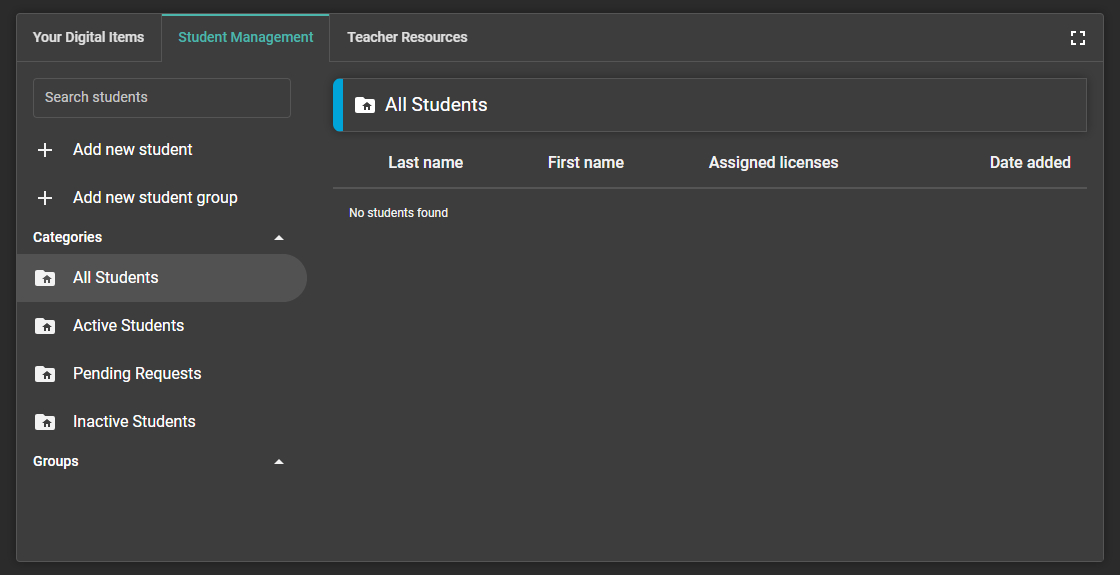
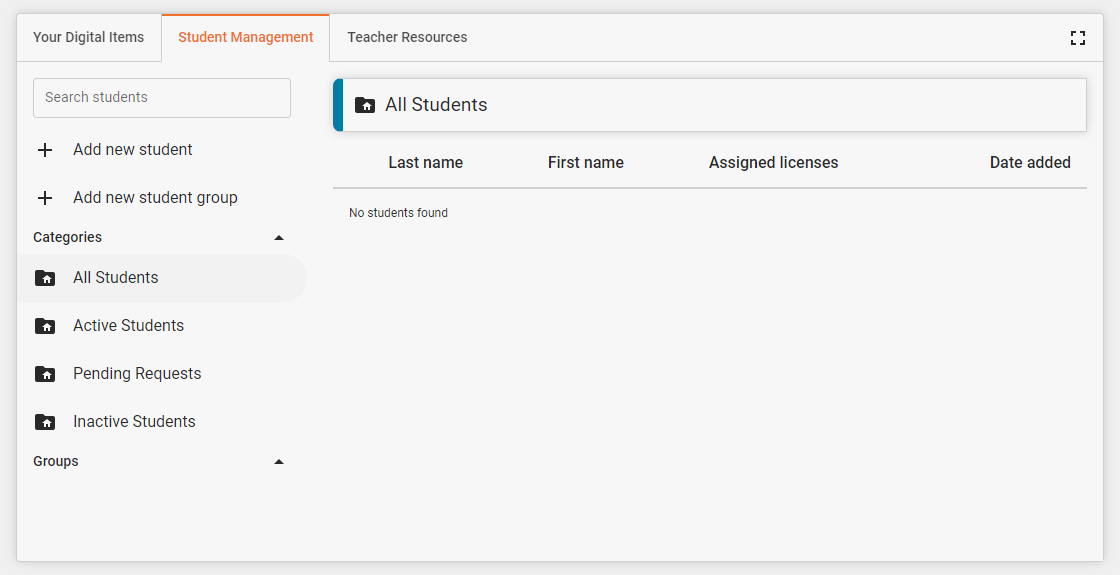
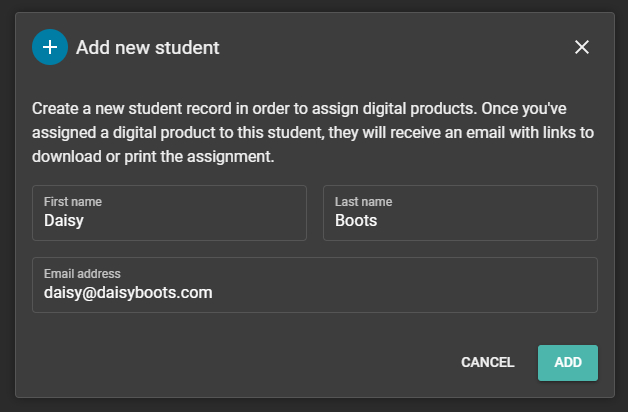
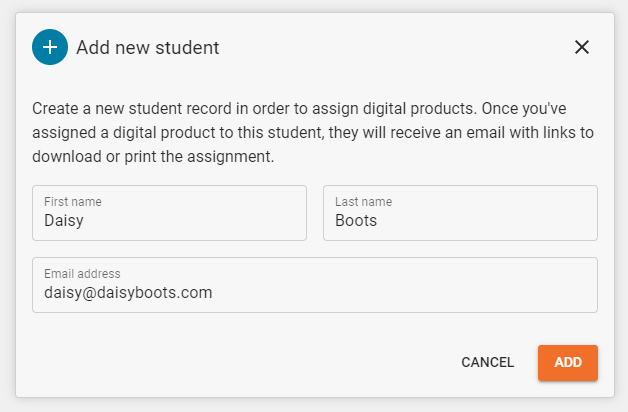
Click “Add new student” and enter at a minimum the student’s first and last name. If the student or parent has an email address you’d like them to receive their music at, you can enter that too. If you’re not sure of the student’s correct email address, you can add it later. Then click “add” to create the student record.
Important
Once you have assigned a product to a student record, you cannot delete or change the student’s name or email address. If you haven’t yet entered their email address, you can add one at any time after assigning a product.
After adding a student, their student record will be moved to the “Pending Requests” folder. Your student will not be notified that you added them until you have assigned a license to them in the next step.
Advanced feature
You can organize your students into groups by using the “Add new student group” option.
STEP 3: Assign a product to a student (Single-User Licenses)
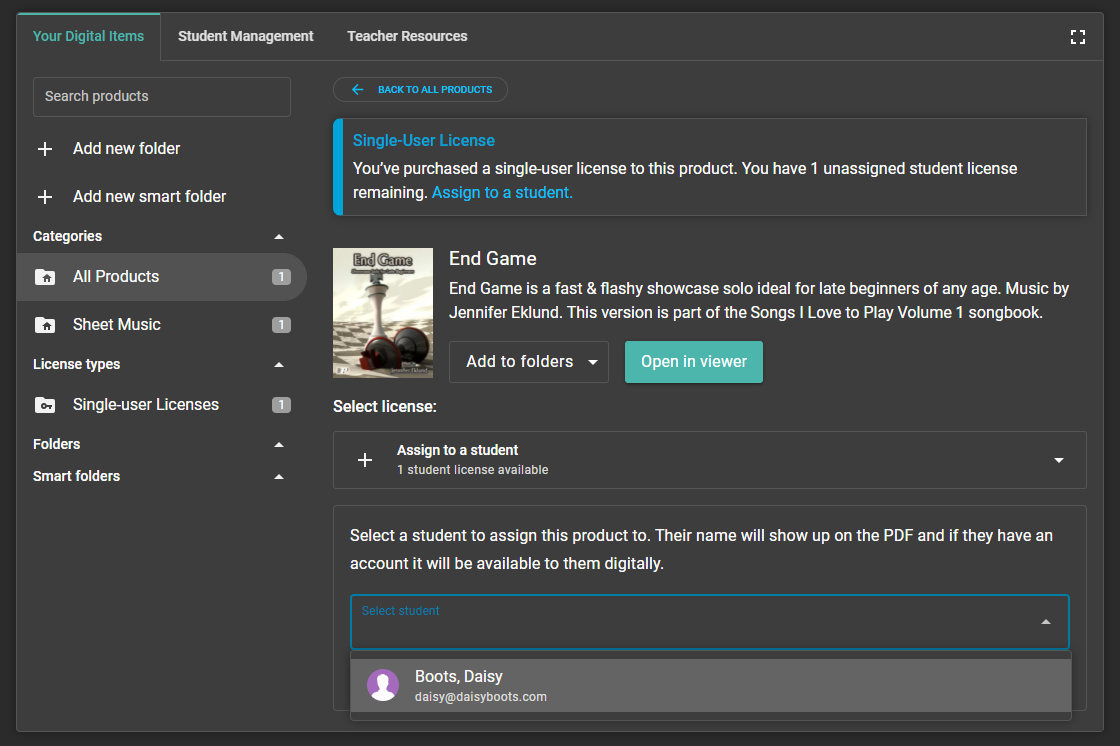
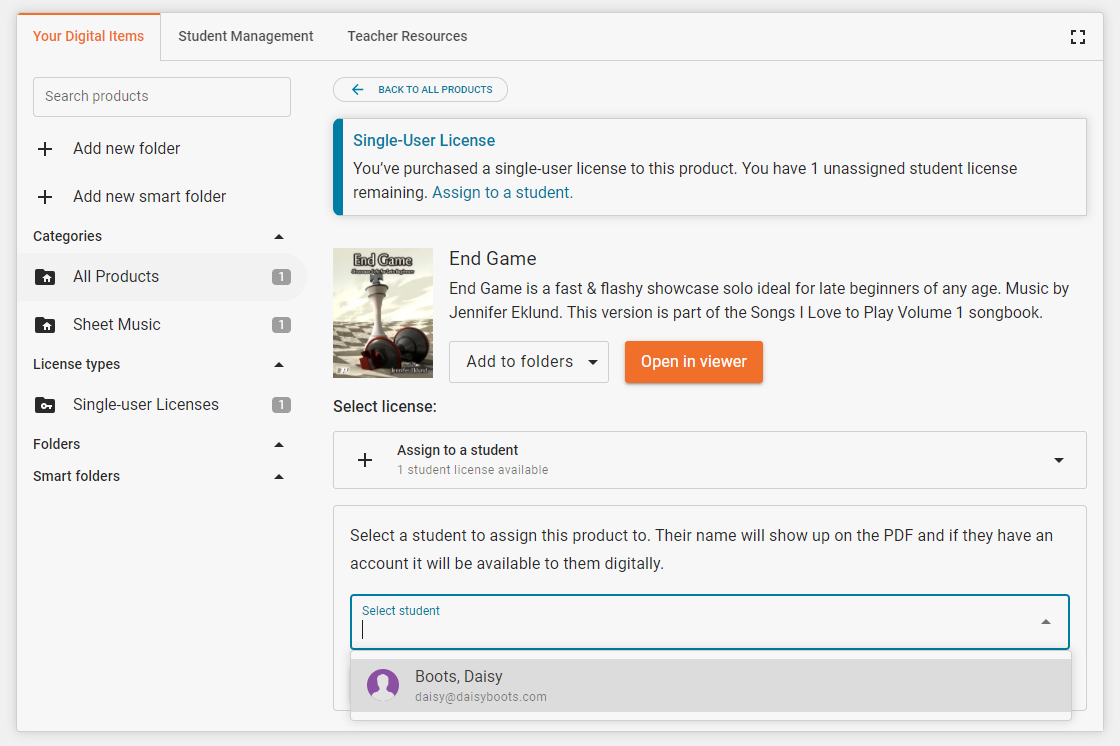
Click the “Your Digital Items” tab to see your library of purchases organized by license type and category.
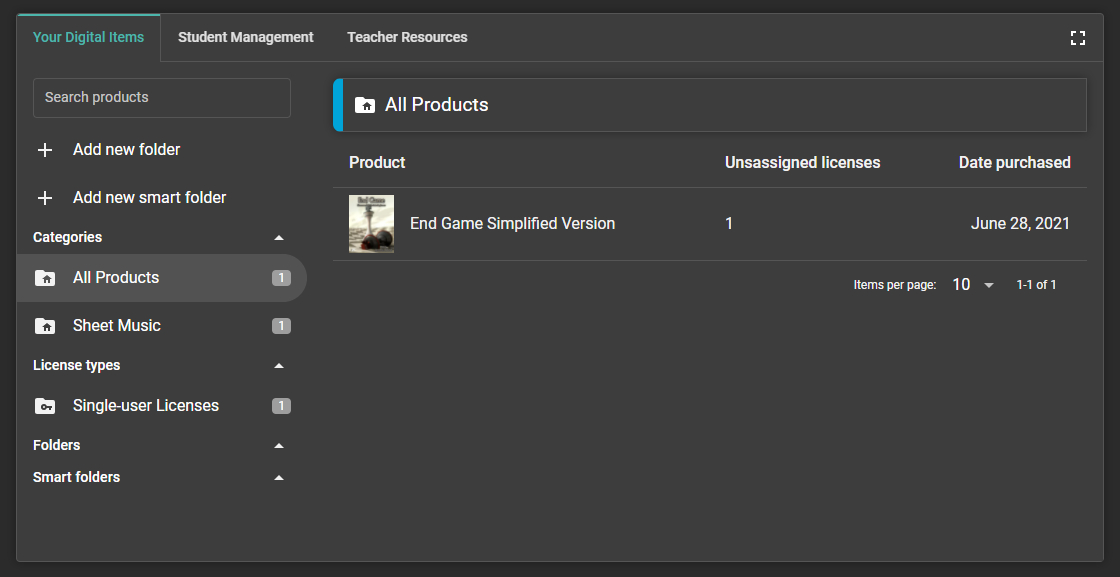
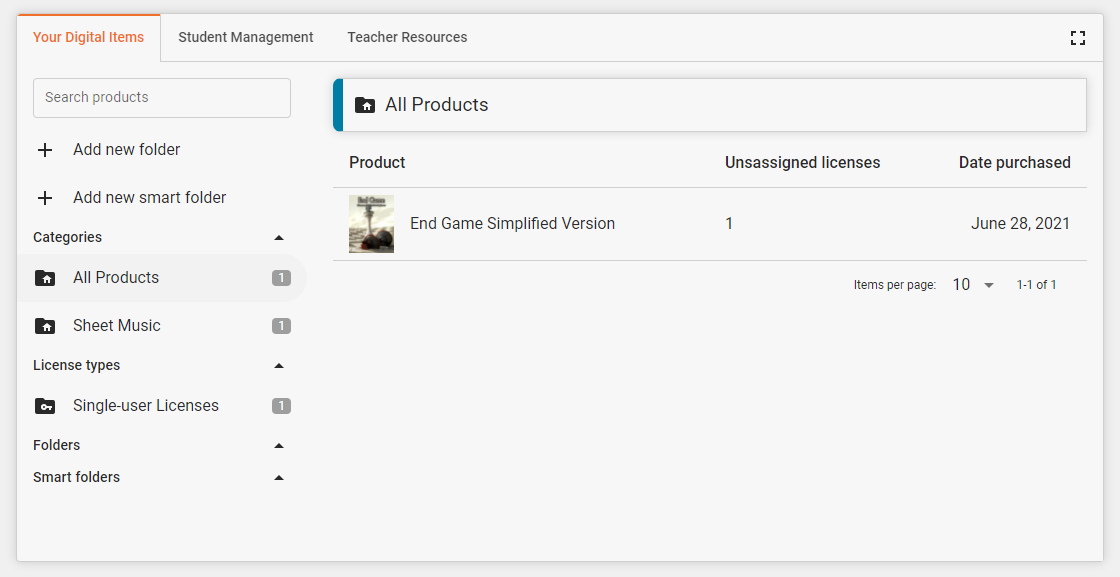
Select a piece of music to open the detailed view with the license information. Then, under “Select license” you’ll see your name, email, and order number. This is the purchaser’s license (in this case, that’s you). Click on the down arrow you’ll see “+ Assign to a student.” In the box below select the student you want to assign the product to (in this case “Daisy Boots”). Hit the submit button.
Tip
When you assign a single-user license, you retain your licensed copy as a reference in addition to the student receiving a copy.
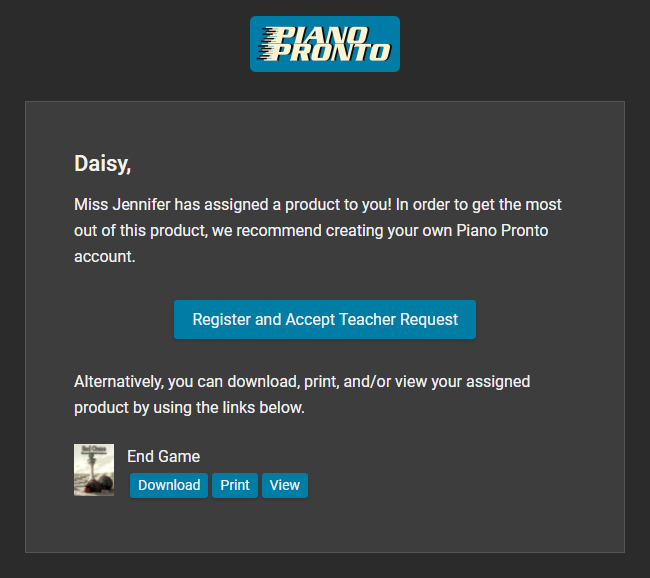
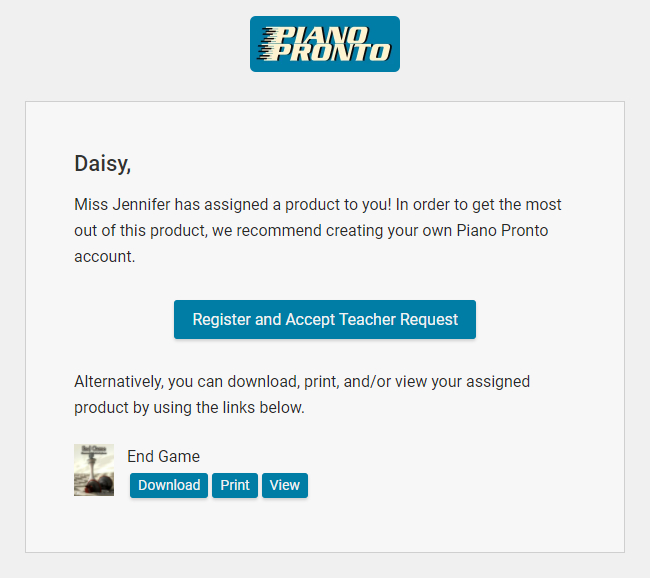
Once the license is assigned, the student will receive an email with the subject line “You’ve got music!” where they can download or print the product without having to register an account. While students are not required to have their own Piano Pronto account in order to retrieve assigned music, we highly recommend they create an account to take full advantage of their assigned products.
Tip
If you don’t want to rely on students printing out their music, you have the ability to print their licensed copy.
At this point you have used your assignable copies of this product. Each single-user license grants one copy for you (the teacher) and one for a student. If you need another license you are required to buy another single-user license. If you need more than three licenses you may want to upgrade to a studio license. You can read about our license upgrade program.
STEP 4: Assign a product to a student (Studio License)
Follow the same steps as you would with the single-user license items. The main difference is that you have an unlimited number of licenses available under the “Select license” section. If the list of names gets long just start typing the name of a student to quickly filter through the list.
Info
Studio licenses are for use with your students and it is not permissible to share these items with other teachers or students outside of your studio.